How to Inspect a Turbidity Curtain That is Already Installed
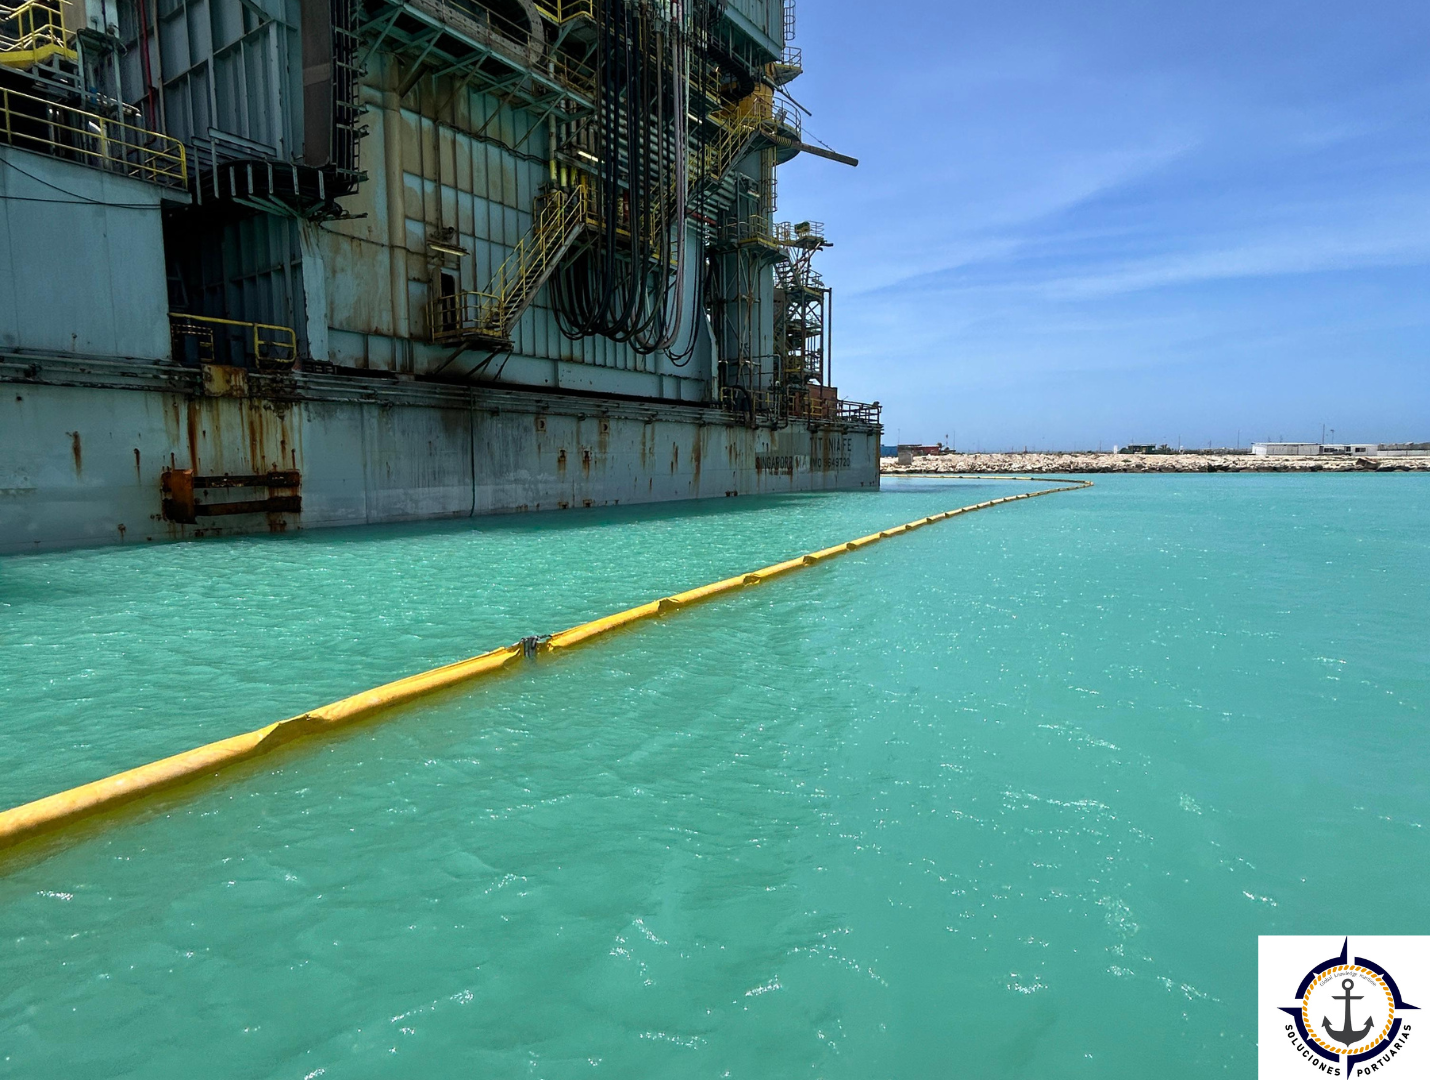
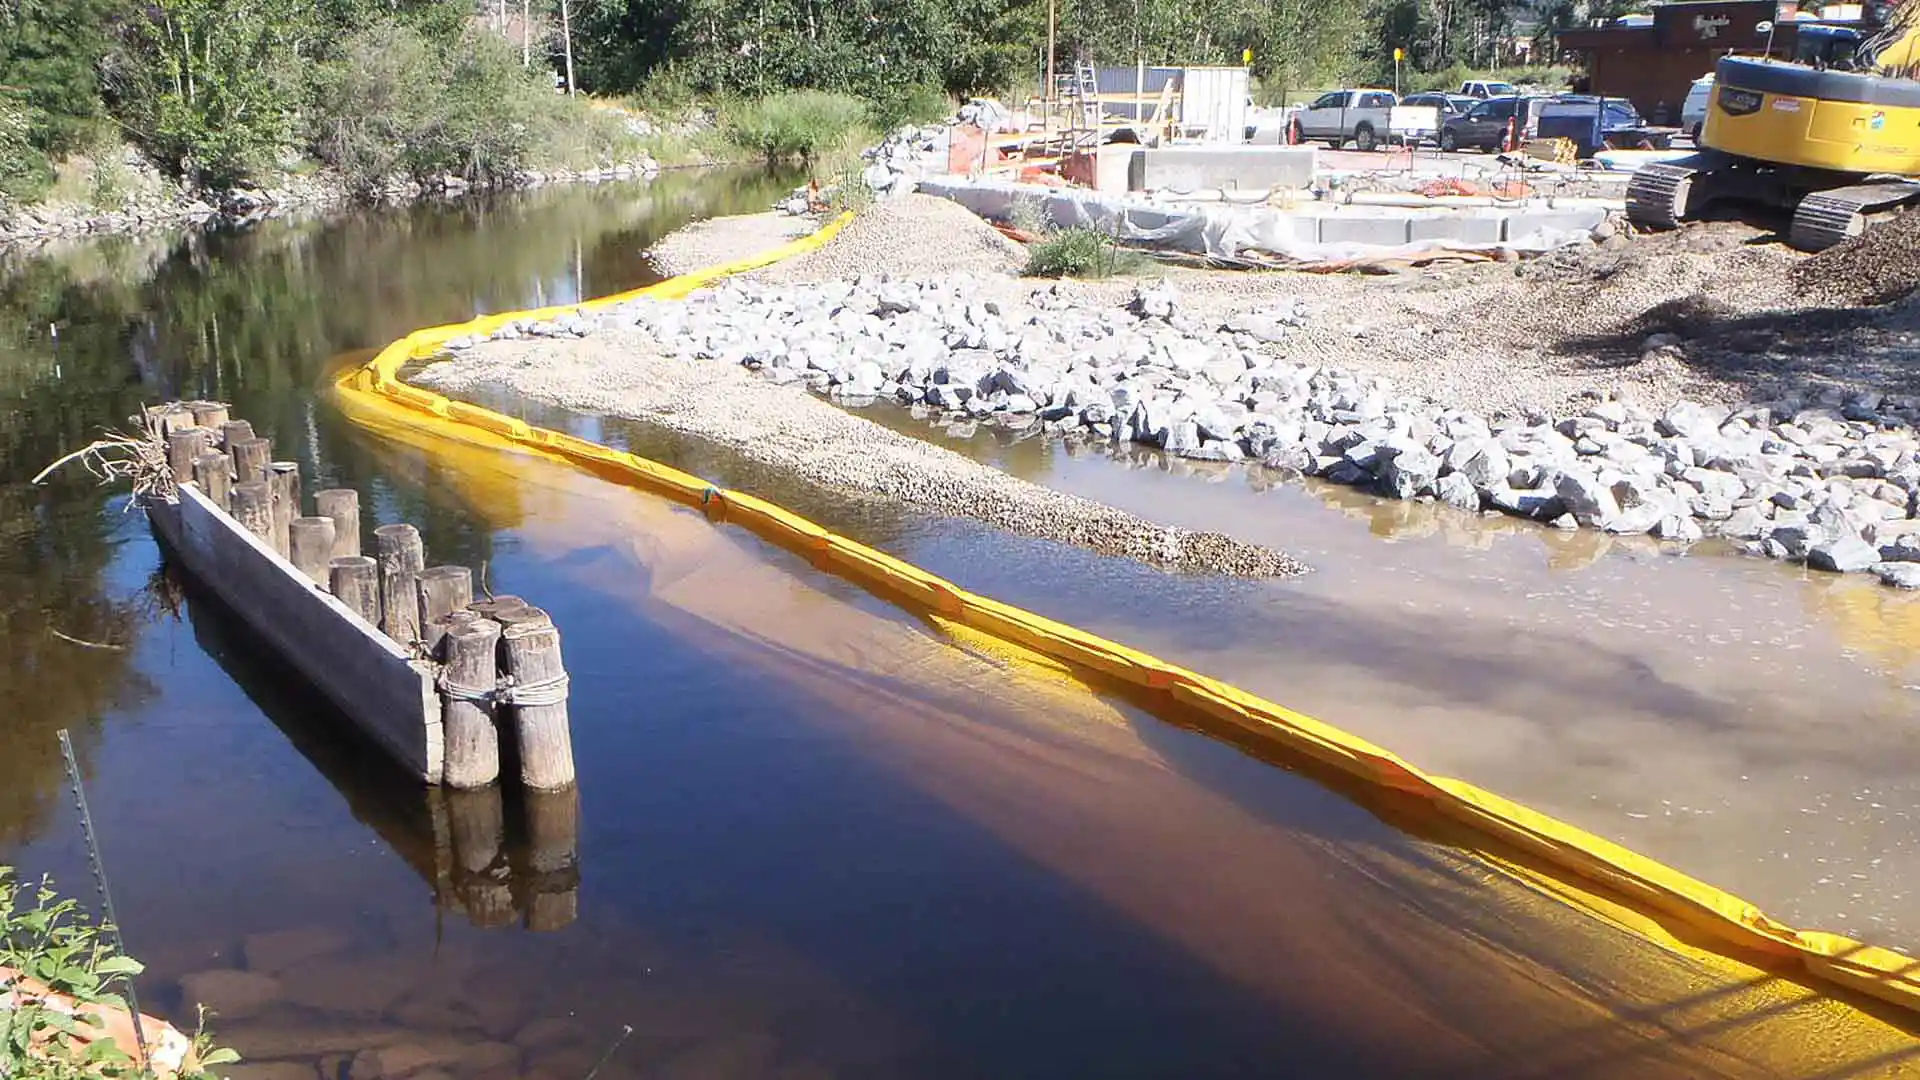
A turbidity curtain can look fine from a distance while hidden damage to anchors, connectors, flotation, fabric, seams, ballast, or tension cables is already reducing its performance. Routine turbidity curtain inspections while the system is installed can help crews identify problems early, document defects accurately, and determine whether a section should be repaired, replaced, or repositioned before a minor issue becomes a costly failure. In this guide, we’ll walk through the key components to inspect; from anchor systems and ASTM universal connectors to flotation, fabric, chain ballast, and tension cables. We will also share some practical tips for documenting damage and performing inspections safely from shore or by boat.
Inspect from shore and by boat only when conditions allow safe access. Record the location of every defect with section numbers, photographs and a simple sketch. A vague note such as “curtain damaged” is not useful when the team later decides whether to repair, replace or change the layout.
Assessing Anchor Systems
Look for shifted buoys, changed line angles, chafed rope, damaged chain, bent hardware, loose shackles, fouling and evidence that an anchor has dragged. Confirm that the line arrangement allows anticipated water-level change without pulling flotation under or leaving excessive slack that can tangle.
In reversing flow, inspect both directional restraint systems where used. Do not assume that a 25, 40, or 65 pound anchor has a fixed holding capacity; bottom type, anchor style, set, scope, chain, load direction and dynamic loading control performance.
Checking ASTM Universal Connectors and Section Joints
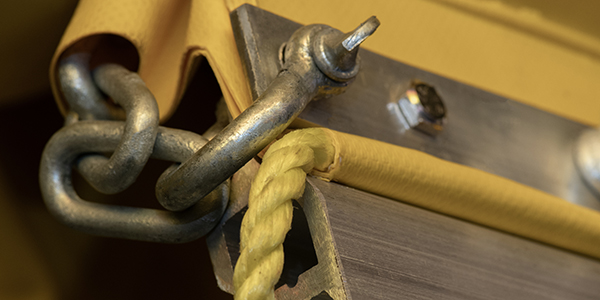
Verify that mating slides are fully seated and not bent, cracked or excessively worn. Confirm that toggle pins or locking hardware are present and secured. Inspect top and bottom stress plates, cable attachments, corner plates, shackles and grommet rows. All skirt-edge grommets intended to transfer or close the joint should be connected. Replace improvised hardware that is incompatible, sharply edged or too weak for the design.
Inspecting Flotation
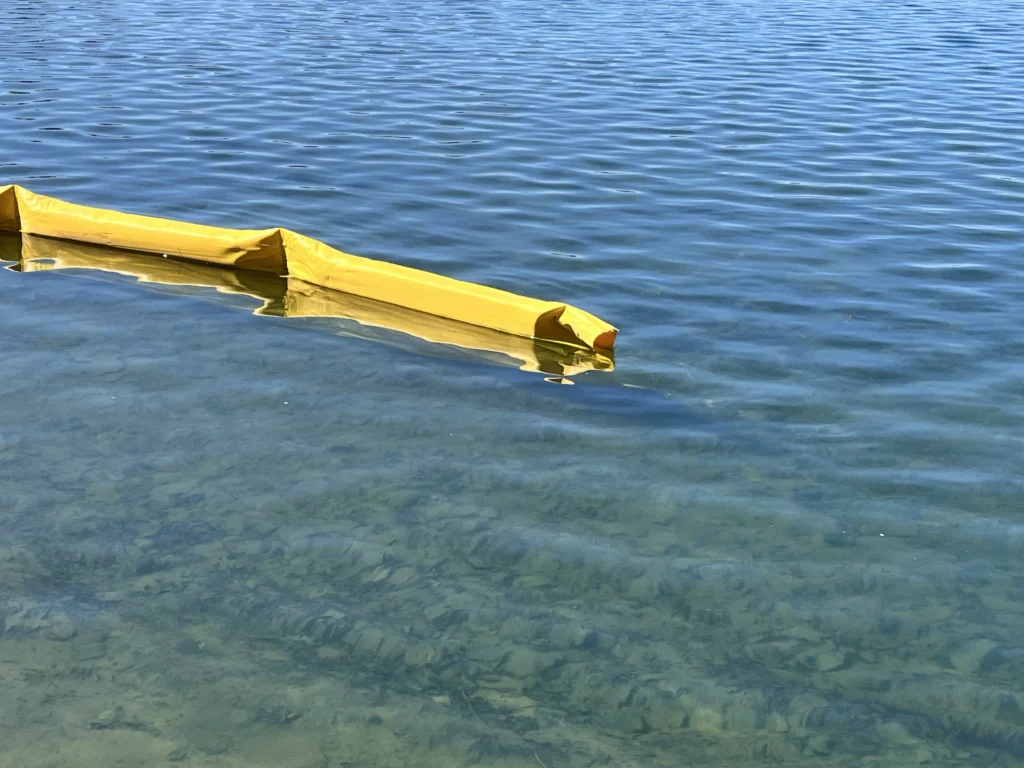
Check freeboard along the entire line. Low sections may indicate damaged fabric pockets, water intrusion, crushed or displaced foam, added marine growth or skirt/chain snagging. Inspect welded seams around float pockets and look for abrasion where the boom contacts docks, pilings, vessels or separators. A localized low spot can become the first place waves overtop and debris accumulates.
Inspecting Fabric and Seams
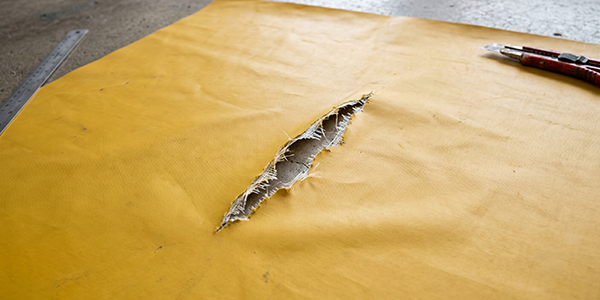
Clean enough surface growth to see the material. Look for punctures, cuts, brittle or abraded areas, seam opening, pulled stitching, enlarged grommet holes and tears radiating from hardware. Small clean damage in an accessible, low-stress area may be repairable with the manufacturer’s compatible kit. Long tears, damage through a load path, widespread weathering or repeated repairs near a connector usually justify manufacturer review or section replacement.
Checking Chain Ballast and Tension Cables
Confirm that ballast remains continuous and evenly distributed. Look for severe corrosion, broken links, worn attachment points and places where the chain is buried, snagged or no longer pulling the skirt down. On cable-equipped curtains, inspect exposed cable, vinyl sheathing, crimps, thimbles, eyes and terminations. Kinks, broken wires, slipped fittings or deformed stress plates require prompt evaluation. Do not place hands near a loaded cable, line or connector.